GED account and appointment guide
How to Register for the GED Test: Step-by-Step
Learning how to register for the GED test is easier when you treat it as a sequence: create or open your GED.com account, confirm your local rules, choose a subject and testing format, select an appointment, and save the confirmation. This guide explains that sequence without pretending to show live appointment inventory.
Reviewed November 15, 2026. State rules, fees, online eligibility, and appointment availability can change, so confirm the final details in your official GED account.
Quick answer: how to register for the GED test
Go to the official GED website, sign in or create an account, complete the profile with your legal details, and follow the Schedule Test prompts. Confirm your state or jurisdiction, choose the subject, decide between an approved test center and an eligible online option, select a date and time, review the fee and policies, then complete payment. Keep the confirmation and check-in instructions. The account is the source for your current choices; this page is a planning guide.

Before you register: requirements, ID, and readiness
Registration is not the same as eligibility. An account can be created before every requirement is finished, but a missing document or state approval can prevent you from booking or checking in. Review the GED requirements checklist before you spend money on an appointment.
| Check first | What to confirm | Why it matters |
|---|---|---|
| Age and school status | Minimum age, withdrawal rules, and any parent, school, or state approval. | Underage testers can need extra paperwork before an appointment is released. |
| State or jurisdiction | Residency, approved testing options, fees, and local retake rules. | There is no single nationwide registration checklist for every learner. |
| Legal name and ID | Account spelling, birth date, photo ID, expiration date, and name-change documents. | A mismatch can stop check-in after you have paid. |
| Readiness | Practice results and any current GED Ready or online-testing condition. | Eligibility lets you register; readiness helps you choose a realistic date. |
| Payment plan | Accepted payment method, subject fee, and possible retake budget. | Review the current price before selecting a slot you cannot keep. |
State rules override generic advice
A page or forum can describe a common process, but your GED.com account and official state policy control. Slow down if you are 16 or 17, recently moved, have a different legal name, need accommodations, or want an online appointment.
Step-by-step GED test registration
The following steps describe the normal path. Labels can change as the official service updates its account flow, so use the wording on your screen as the final instruction.
1. Create or open your GED.com account
Start at GED.com and choose the sign-in or sign-up option. Use an email address you can access for confirmation and support messages. Enter your legal name exactly as it appears on your primary identification. If you already began a profile, sign in to that account instead of creating a second one. Duplicate accounts can make results, payments, or support questions harder to match.
2. Complete the profile and choose your location
Finish the basic profile prompts and select the state or jurisdiction connected to your test. Read the eligibility notes shown for that location. This is where you may see age, school-status, residency, or documentation instructions. Do not choose a state simply because a friend found a lower fee there; follow the rule that applies to your own testing situation.
3. Select the subject you are ready to take
The GED is made of separate subject tests. Choose one subject when you are ready rather than assuming you must book all four on one day. Use a short diagnostic or a full free GED practice test to find the weakest skills first. The GED test subjects guide can help you compare timing and question focus before you select a subject in the official flow.
4. Select an approved test format
Depending on your state, subject, account, and current eligibility, you may see a test-center option, an approved online option, or both. A test center removes many home-technology variables but adds travel and arrival planning. Online testing may reduce travel but can require a qualifying readiness result, compatible equipment, a private room, a system check, and remote check-in. Read the online GED testing guide before choosing the home option.
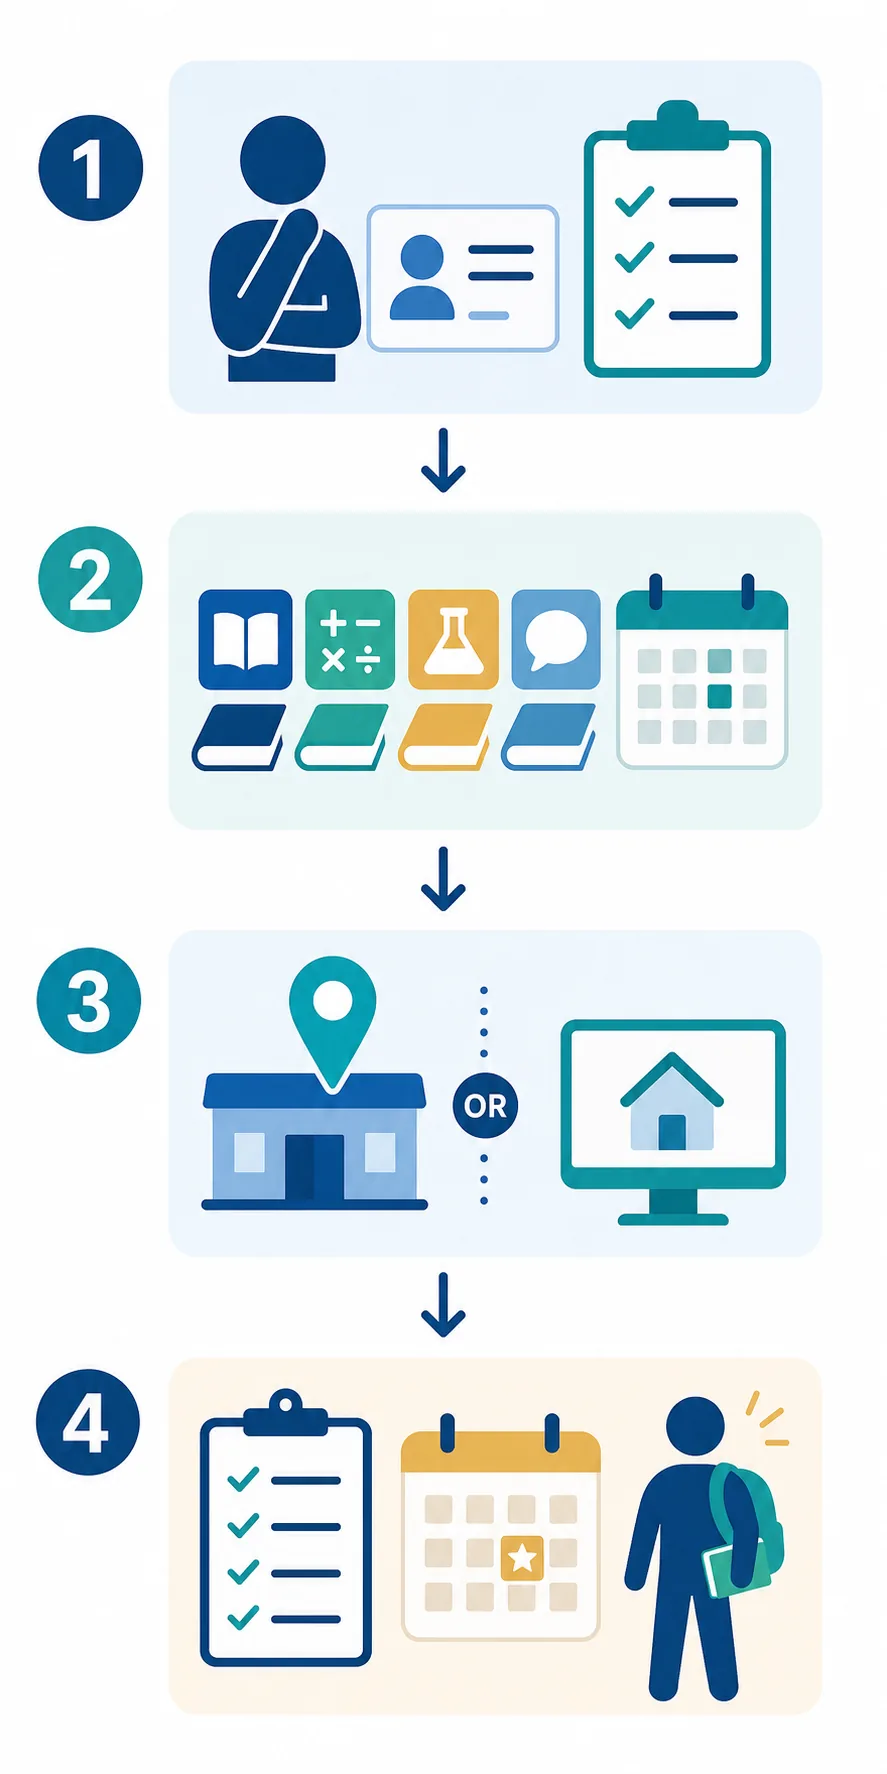
5. Choose a date and time you can actually attend
Review the date, time zone, location or online format, fee, and cancellation terms before you continue. Check work, transportation, childcare, internet, and study time at the same moment. The GED test dates guide explains how appointment inventory differs from a single national exam day. If you need a nearby center, use the official path described in the GED test locations guide.
6. Review the payment screen and submit
Before paying, compare the subject and format with your plan, verify the account name, and read the refund or rescheduling language shown in the current checkout. The GED test cost guide explains why fees can vary by state and why a retake budget matters. Do not treat an old price in a blog post as a quote for your appointment.
7. Save the confirmation and next instructions
Save the confirmation page and email, appointment number, date, time, address or online check-in link, payment record, and any document reminders. Put the information somewhere you can reach without searching your inbox on test day. If the account does not show a confirmation after payment, do not pay a second time immediately. Check the account status and contact the official support route with your receipt.
Test center or online appointment?
Registration presents a choice, not a universal recommendation. Compare the conditions you can control, then select the option that keeps check-in predictable.
| Option | Often fits when... | Plan for... |
|---|---|---|
| Official test center | You prefer an established room or your home setup is unreliable. | Travel time, exact address, arrival instructions, accepted ID, and center availability for your subject. |
| Approved online testing | Your account shows eligibility and you have a quiet, private, technically ready room. | System check, webcam, microphone, reliable internet, room rules, ID, and remote check-in. |

Payment, confirmation, and missing appointments
If no appointment appears, check the sequence before assuming the service is unavailable. Confirm that you selected the right state, subject, and format. Look for a missing ID step, readiness result, underage approval, payment error, or account notification. Try another approved location or date range only when the official account offers it. A tutoring listing or map pin is not proof that a building is an authorized GED testing center.
If you need to change an appointment, use the change or reschedule controls in the official account and read the current policy before confirming. Record the new confirmation. If the account and email disagree, pause and contact the official GED support route rather than booking a duplicate appointment.
After registration: prepare for check-in
- Recheck the exact ID. Make sure your legal name and expiration date still match the account.
- Practice the selected subject. Use a timed set, review missed skills, and avoid changing every study resource at the last minute.
- Plan the route or room. For a center, estimate travel and arrival time. For online testing, complete the official system check and prepare a private space.
- Keep the confirmation accessible. Store the address, time zone, appointment details, and support instructions together.
- Ask early about accommodations. If you need approved testing support, review the GED accommodations guide before booking or changing a date.
GED test registration FAQ
Bottom line
How to register for the GED test is a practical order of decisions: use one official account, confirm the rules for your state, choose a ready subject, compare the approved format, select a workable appointment, review payment terms, and save the confirmation. Use free practice to prepare, but use GED.com and current state policy for the final registration and testing instructions.
This guide was reviewed on November 15, 2026. It is educational content from a free GED practice resource, not an official GED registration service.
Official references
- GED.com scheduling - official high-level scheduling steps.
- How to Schedule a GED Test: Step-by-Step - official account and format walkthrough.
- GED.com test-taker information - current eligibility and testing links.
Registration checklist
- Use one GED.com account.
- Confirm state rules and ID.
- Choose a ready subject.
- Compare center and online options.
- Save the appointment confirmation.
Prepare before you book
Take a short mixed-subject diagnostic, review missed skills, and use the result to decide which subject deserves the first appointment.
Take a 20-Question Diagnostic